Showing posts with label Custom. Show all posts

Thursday, November 01, 2012

Wooden iPhone 5

Working on a few projects right now and one of them involves the I phone 5, which I do not currently have in my possession. Not sure when or if ever...

So like most things around here if I don't have it might as well make it, and make it out of wood. Jumped on the 'ol intro-net thing surfed around for a few and gots me the dimensions of the #5 and went to town on some old wooden fencing. A little elbow grease and we have a fine example of a modern convenience without all of the convenience and technologies. No calls, no web surf'n, no instagram. just wood.
More on the purpose later.
Well back to it... Hope your week has been productive and positive....
 If you are back east "god's speed" and we have you in our thoughts and wish you well.
>>>--"Keep On Crow'N--->
 Cheers,
'MrRay'

Tuesday, July 26, 2011

Weekend Build: Surf Sign

Now that the 'ol work bench is built and I have a place to start making messes again I decided to have a go with some more wood work. This time making some signage. Now this is a long post because I took heaps of images through out all of the steps of the build. From paper pattern cutting...

...all the way to being hung in the office at the 9-5er.
This is also my first go at shooting everything with my phone camera. Not the best images but good enough to share the building process.

So started out with the idea a while back and finally got around to going after it by finding a good font that I liked.  Printing out nice and big on 11x17 paper and cutting em out for a templet to follow.
I have a bunch of plywood around the new home that has been out in the yard for a few years by the looks of it. This is the base for the letters and the layout. Did the layout to follow the grain of the wood so when I comes time for sanding and paint and whatnot it will work nicely.


After all ruffed on the wood got out the trusty scroll saw and clamps and went to town.


Wednesday, July 20, 2011

Weekend Build: Work Bench

It has been a long while since the dust has been flying with a home project. Our current residence has been missing a work table in the garage so spent a couple bucks at the local hardware mega store and picked up some wood and screws. Ruff sketched some plans on a scrap piece of paper and went to town building an 8'(2.4m) long 2.5'(76.2 cm) wide 43"(109.22 cm) high work table. Shot a few pics throughout the build.


finished table in it's new home up against the back wall.

Of course no project would be complete with out some kind of R/Co. logo stencil action...

Well we are now heading towards the tail end of this here work week. Time to start making plans for the coming weekend....
Need to finish setting up the work space so can really roll up the sleeves and get to building things. Like more of those wallets folks have been asking for...

"Keep 'em Flying"
Cheers,
'MrRay'

Thursday, April 28, 2011

CXXVI I Phone Wallet: Work'n Together: Update

The phone wallets are in and available for purchase.

Check 'em out over at the CXXVI Clothing Co. web site.

I plan to do a little behind the scenes post on the making of these items in the next couple of days. Till then, I again want to thank the fine folks over at CXXVI for this opportunity! Now go over to their site and pick one up for yourself and tell your friends to do the same...

Cheers!

Wednesday, August 25, 2010

R/Co. Project: Wood Block Layout pt2.

Finished up the wood block the other day. Quite pleased with how it turned out.
Still messing around with the right consistency of ink for printing on fabric, more on that later.

Cheers.

Tuesday, August 03, 2010

R/Co. Project: Hand Carved Toggle N' Button

I thought I had already posted up the little segment on carving some buttons & toggle out of a wooden dowel... Guess not so here it is.
Get a nice dowel, in this case a 3/4"(19.05mm)

Measure it out on the dowel how thick you want your buttons to be.
Mark it off.

Then cut along the line.

I decided I wanted to do a rim around the edge so marked it off.
Clamped her down..

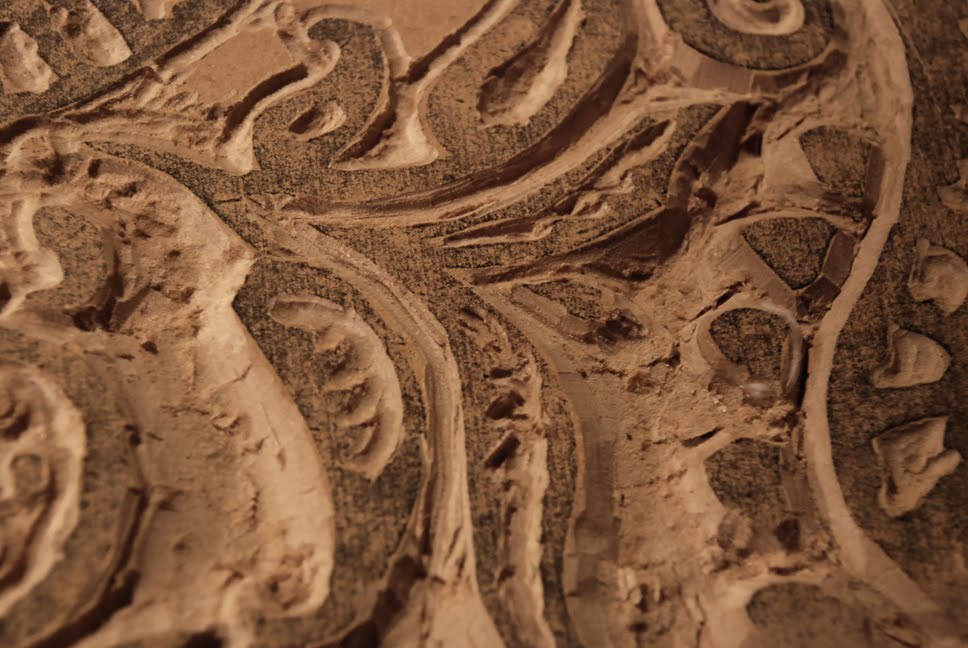
and got out the rotary tool with the super small carving bit and went to town.

didn't like how it turned out though. so didn't do the rest of 'em.
Instead just got out the sand paper and smooth out the edges and give it some shape.

Next mesured out the length of the toggle and cut.
Note the extra lines, that is were I wanted to taper out to zero when shaping the toggle.

did most of the work with a medium grit sandpaper on a sanding block.


When got the shape I wanted..

marked where holes will go and drilled it out.
The final touch is adding some wood stain and wiping them down.
Note the additional shaping on the toggle that is so when it is threaded it will not stick out so far.
Attached to garment ready for some use...
 Good times!
I know that you could just go to any old fabric shop, even walmart and get a wooden toggle but they are just so mass produced....

Back to it.

Cheers.

Monday, July 12, 2010

R/Co. Project: Hanger

For some reason I am just never satisfied with what you can go out and buy so like most things pertaining to what we are doing with REDCROW it is only natural that instead of using readily available hangers I had to go off and build some....

A long piece of 3/4" thick wood, a skil saw, a wood rasp, sandpaper and not enough time on my hands and we are ready to go to work late into the night...

Have this old wooden hanger that I like so decided to start there for a pattern to build from. Of course made a few modifications to fit what I was after.
Sketched it out on a scrap of Oak Tag and was ready to go.
Lay out the pattern on the wood.

Saturday, May 01, 2010

R/Co. Project: Seeing Dots.

Man Friday morning just sucked big time. My alarm goes off way to soon, like it always does, and as I go to get out of bed the room just starts spinning... After a few attempts to get out of bed I throw in the towel and close my eyes and wait for it to stop. At one point I my bladder was so full that I had to get up and try to get to the bathroom. I made it ok but ended up falling into the tub and missed the toilet compleatly. So the whole day was a waste. I have so much that I need to get done, both at the 9-5 as well as what I want to get done out in the garage. Spending a day in bed because the world won't stop spinning when I get up is just not needed....

Anyway, for the last while the daily routine has been get up get ready for the day, go to the 9-5,  come home do the family thing, and then out to the garage till the wee hours of the morning, then repeat.
Well for the last 3 days of this routine I have been out making dots...
Yep, a whole mess load of dots.
Part of this little project I am building involves a shirt that is a navy blue ground with an allover dot pattern. Since I could not find exactly what I wanted for fabric I decided I would just have to make it....
Silly me. I don't think I will be making more than 1 and this is why....

Monday, August 03, 2009

First Round: REDCROW Denim.

A little while back I posted about the building of the first few pairs of REDCROW Denim that I have been working on. R4001 & R4002. Well, it took forever and a day but I am finally posting the updated images of some of the finished goods.The above is the R4002, 'The Jonny' It is built to be more of a workwear kind of fit with double needle stitching through out.The front pocket bags are made with a nice small grid plaid. The inside waist band is also trimmed with the plaid along the bottom edge. The inside side seam has a nice gold and red overlock stitch. The front closure is a button fly with brass 4 hole buttons.

I am not 100% on them just yet so I am going back to the pattern and making a few more tweaks mostly in the back rise area.... but all in all I think they are good for a first go. More to come soon including posting the images of the R4001, 'Salt City'. Till then...
Cheers.

Thursday, January 29, 2009

Nice and Snug & On Its Way.

I have really been feeling bowties as of late, but, I do not have a good selection. So the other day I decided I wanted to give it a go and build me a few.
Here is a little play by play of the building of my 1st bowtie sample:

First off I needed a pattern so got out one I got for a $1 in San Francisco on a shopping trip a few years back.

Once it is all traced out and shaped how I like it on pattern paper I cut it out and stapled it to some card stock type paper that pattern makers use, called oak tag.
Then added seam allowance of 1/4" and cut it out. Ready to lay down on my sample fabric and cut'n sew.

All stitched up. Now trim some of the excess seam allowance off and turn it right side out. Give a good pressing and....

Give a nice once over in the mirror as I tie the bow.

There you have it. Check back soon as I will share the actual goods when completed. The great thing about building your own bowties is that you use the scrap fabric that is left over when making actual neckties so there is no more waste.

Cheers.