
Now I could just go to a thrift shop or Ikea and pick one up and call it a day. But seeing that the REDCROW family and I are having to pinch pennies a little harder at the moment that will not do, besides what fun is that? Sticking to the old motto of "making do with what we have" and the fact that we have a bunch of wood laying about that we carted all the way from the Great Pacific North West to SoCal the only logical thing to do is build a shelf. Since it has been ages since doing a step by step post, let alone build anything, I figure that is what this will be, a play by play... Enjoy.
Before building anything it is best to start with some sort of plan. Here is a quick and ruff sketch thrown out on a scrap of cardboard. It will be a "simple" build with 2 shelves and a row of hooks to hang things on like patterns and the work'n apron. Since it is going in the studio I also plan to lay down some graphics to give it some life.

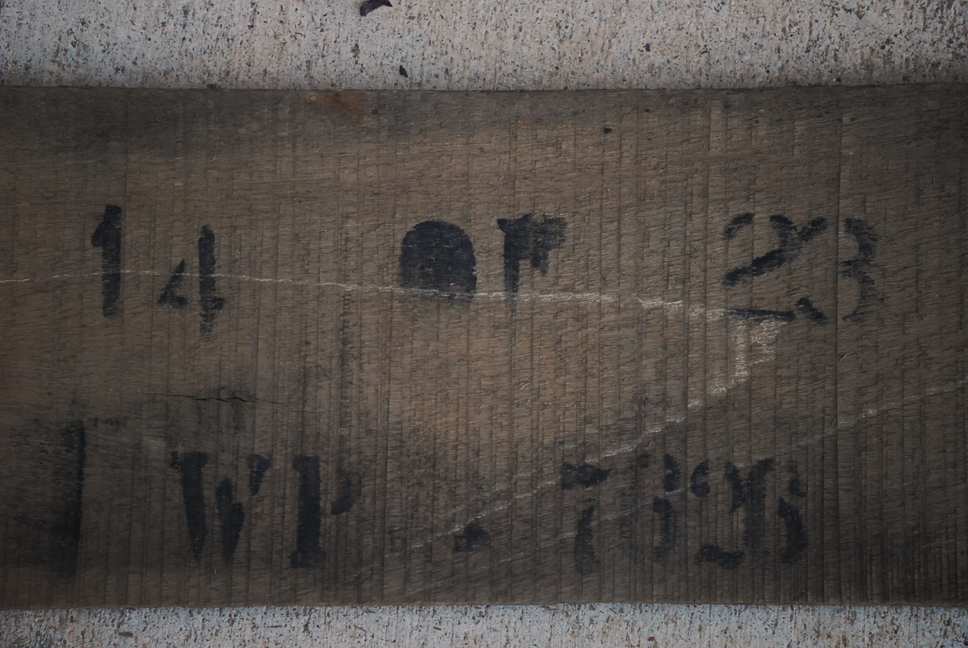
Gathered together the old wood.

Part of it is from a crate that held fencing that was shipped to Seattle. Nice stencil details.
Truing up all of the pieces so they are are "straight" and the same length.


After all of the shelf and anchor pieces are cut and trued up time to lay down some wood stain.

While the stain is drying the shelf ends need a little life of their own so gave it some shape that will be cut out with the jig saw.


And it mixes up some great colors. I took a little blue and a drop or two of yellow and came up with a nice blue/green.

Laying down the mixed paint.

As you can see just give a quick pass with the brush no need to get it perfect because...

We will just be sanding it down.

This foto does not show how great the finish is. Trust me it is AWESOME! And so easy.

Once the sanding is where I like it grabbed the wood wax and mixed up some dark wax and laid her down. Check out the difference. Waxed is on the left.

Now on to some hardwear. We have a rack in the garage that has heaps of hooks on it so decide to clear a few out and use 'em on this project. Since they are all different sizes and finishes figured give 'em a quick pass with some rattle paint to give some consistency.


Now the layout for the graphics.

Taped off the shape and ready to lay down a base coat of white.

Wow there is still heaps more to go over in regards to the build. I think I will leave you hanging and share the rest of the build later.
Good Thursday to you my friends! The Week is drawing close to an end and the Weekend will quickly be upon us... What fun do you have planned? If no plans why not build something of your own?
Well back to it...
Cheers,
'MrRay'
No comments:
Post a Comment